Menggunakan CSS ketika membuat halaman web, kita dengan mudah membuat background yang indah, namun tetap dengan file yang kecil, hanya dengan background-repeat: repeat;. Nah, hal tersebut yang akan saya demokan dengan JPanel dari Swing, dengan Java.
File TexturedPanel.java
1 2 3 4 5 6 7 8 9 10 11 12 13 14 15 16 17 18 19 20 21 22 23 24 25 26 27 28 29 30 31 32 33 34 35 36 37 38 39 40 41 42 43 44 45 46 47 48 49 50 51 52 53 54 55 56 57 58 59 60 61 62 63 64 65 | package texturedpanel; import java.awt.Graphics; import java.awt.Graphics2D; import java.awt.Rectangle; import java.awt.TexturePaint; import java.awt.image.BufferedImage; import java.net.URL; import javax.imageio.ImageIO; import javax.swing.JPanel; /** * * @author Konglie */ public class TexturedPanel extends JPanel { private URL backgroundImage; // use custom painter to paint components // texturepaint private TexturePaint painter; public TexturedPanel(URL background){ super(); setBackgroundImage(background); } public void setBackgroundImage(URL background){ // set the background image location this.backgroundImage = background; try{ // decode the image BufferedImage image = ImageIO.read(this.backgroundImage); // setup the texture painter this.painter = new TexturePaint( image, new Rectangle(image.getWidth(), image.getHeight()) ); // signal component painting repaint(); } catch(Exception e){ this.painter = null; e.printStackTrace(); } } @Override protected void paintComponent(Graphics g){ super.paintComponent(g); // if we have custom painter if(this.painter != null){ Graphics2D g2d = (Graphics2D) g; // use the custom painter g2d.setPaint(this.painter); // start painting g2d.fill(new Rectangle(0, 0, getWidth(), getHeight())); } } } |
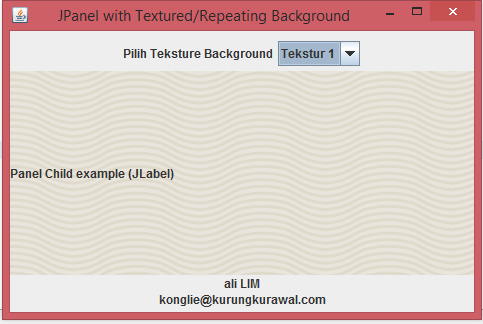
Hasil jadinya seperti video di bawah
Source code lengkap dapat dilihat di github.
Demikian, semoga berguna untuk kita semua.